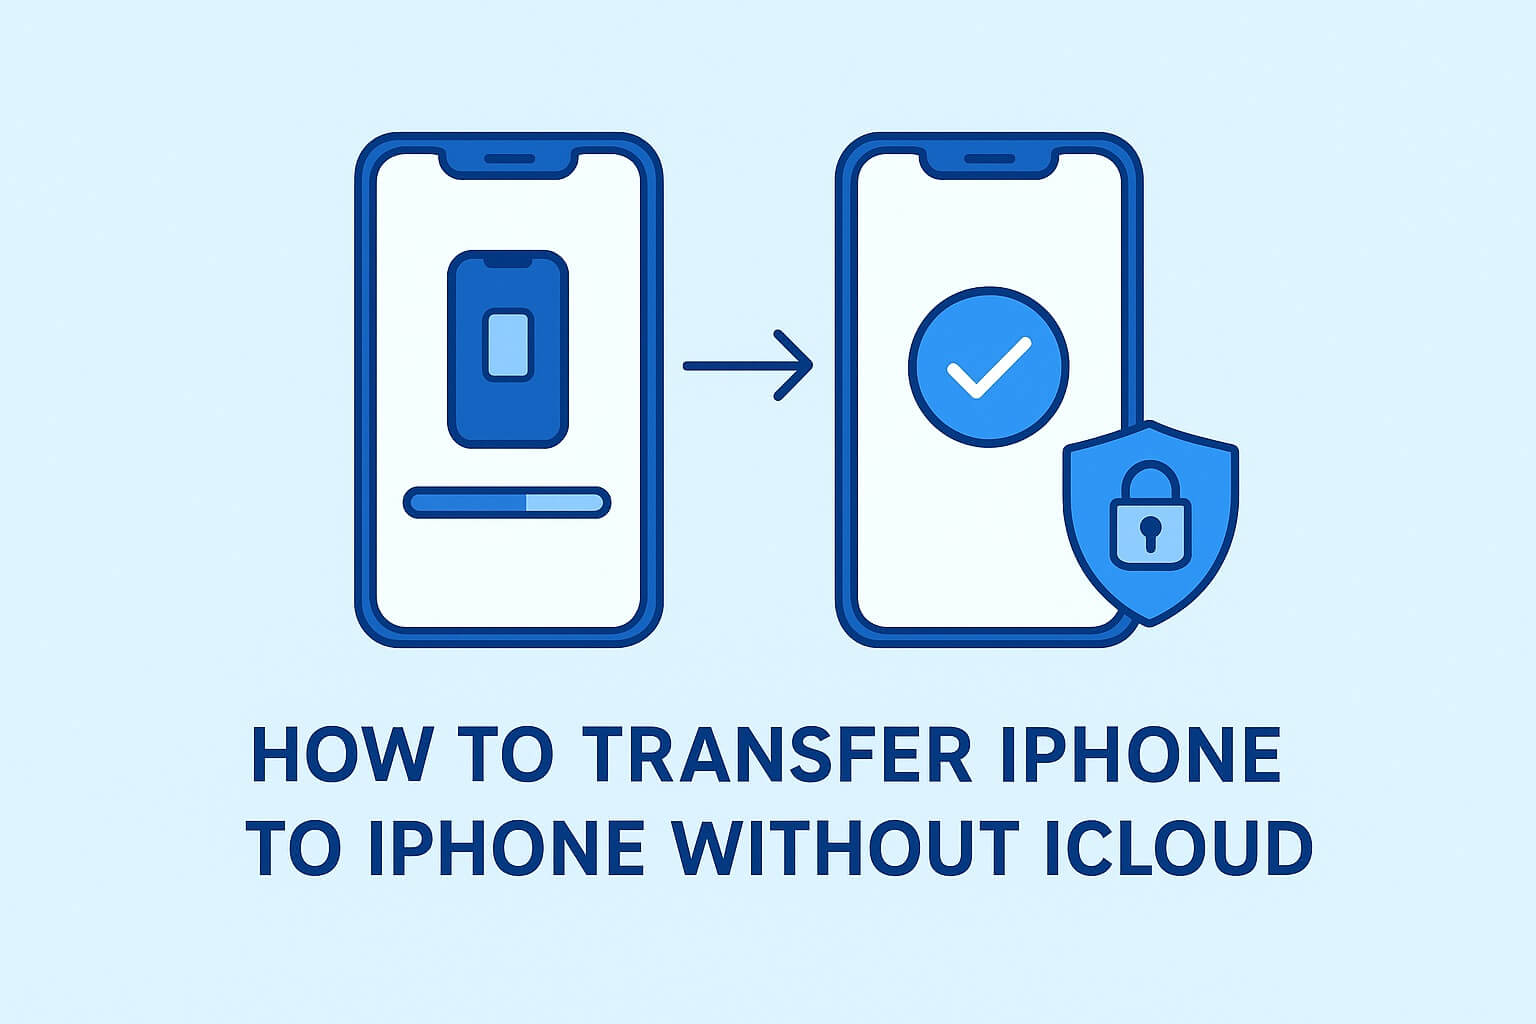
Switching to a new iPhone is exciting, but moving all your data smoothly can be stressful—especially if you don’t want to use iCloud. Whether you’re running low on iCloud storage, experiencing a poor internet connection, or simply prefer offline transfers, there are multiple reliable ways to transfer iPhone to iPhone without iCloud.
In this guide, we’ll explore all possible methods, compare their pros and cons, and provide step-by-step instructions so you can quickly get your new iPhone up and running without losing a single photo, app, or message.
Why Transfer iPhone to iPhone Without iCloud?
Most iPhone users rely on iCloud for backups and transfers, but it comes with limitations. Here are some common reasons why you may want an alternative:
- Limited Storage: Apple only provides 5GB of free iCloud storage, which is usually not enough for full backups.
- Slow Transfer Speeds: Large files and photos may take hours to sync over iCloud.
- Internet Dependence: iCloud requires a stable Wi-Fi connection, which may not always be available.
- Privacy Concerns: Some users prefer not to upload sensitive data to the cloud.
That’s why Apple and third-party tools offer other methods like Quick Start, iTunes/Finder, AirDrop, Move to iOS, or professional transfer software.
Methods to Transfer iPhone to iPhone Without iCloud
Here’s a complete breakdown of the best methods available today:
- Quick Start (Recommended by Apple)
- iTunes/Finder Backup and Restore
- AirDrop (Selective Transfer)
- Move to iOS (if switching from Android)
- Third-Party Transfer Tools (e.g., AnyTrans, iMazing, Dr.Fone)
- Manual Transfer via Computer or External Drive
1. Using Quick Start (The Easiest Way)
Quick Start is Apple’s built-in feature for transferring data directly between two iPhones using Wi-Fi or a cable. It works without iCloud and is fast, secure, and beginner-friendly.
Steps:
- Place your old iPhone and new iPhone side by side.
- Power on the new iPhone and select your language.
- When prompted, use your old iPhone to scan the animation on the new iPhone.
- Enter your old iPhone’s passcode.
- Choose Transfer from iPhone.
- Keep both iPhones close together until the transfer is complete.
✅ Pros: Easy, fast, no internet required.
❌ Cons: Requires both iPhones to be functional and nearby.
2. Using iTunes or Finder (Computer Backup & Restore)
If you prefer a wired transfer or your iPhones aren’t physically next to each other, iTunes (Windows/macOS Mojave or earlier) or Finder (macOS Catalina or later) is the best option.
Steps:
On your old iPhone:
- Connect iPhone to your computer.
- Open iTunes/Finder.
- Select your iPhone > Back Up Now.
- Check Encrypt Local Backup if you want health data, passwords, and app logins included.
On your new iPhone:
- Connect your new iPhone to the computer.
- Choose Restore Backup.
- Select the latest backup and wait for transfer to finish.
✅ Pros: Full offline backup, no iCloud needed.
❌ Cons: Requires a computer with enough storage.
3. Using AirDrop (For Photos, Videos, Files)
If you only want to transfer specific files (like photos, videos, or documents) instead of everything, AirDrop is the fastest method.
Steps:
- Turn on Bluetooth & Wi-Fi on both iPhones.
- Enable AirDrop: Go to Control Center > AirDrop > Everyone.
- On your old iPhone, select the files > tap Share > AirDrop.
- Accept the transfer on your new iPhone.
✅ Pros: Instant, no cables, no internet.
❌ Cons: Not for full backups, just selective transfers.
4. Using Move to iOS (For Android to iPhone)
If you’re moving from Android to iPhone, Apple’s Move to iOS app lets you transfer contacts, messages, and media wirelessly. While this isn’t for iPhone-to-iPhone transfer, it’s worth noting as a cross-platform option.
✅ Pros: Works directly from Android to iPhone.
❌ Cons: Not useful for iPhone-to-iPhone.
5. Using Third-Party Transfer Tools
Sometimes Apple’s built-in tools may not meet all your needs. That’s where third-party iPhone transfer apps come in.
Popular Tools:
- iMazing – User-friendly backup and restore with advanced control.
- AnyTrans – Transfer data selectively or fully, with cross-device support.
- Dr.Fone – Phone Transfer – Supports multiple devices and platforms.
Why Use Them?
- Transfer WhatsApp data, ringtones, and music easily.
- Select specific apps or files instead of a full backup.
- Faster speeds than iTunes/iCloud.
✅ Pros: Flexible, advanced options, supports selective transfer.
❌ Cons: Paid software, requires installation.
6. Manual Transfer via Computer or External Drive
If you don’t want to rely on software, you can manually move photos, videos, and files by connecting your iPhone to a computer and copying them.
Steps:
- Connect your old iPhone to your computer.
- Use Photos app (Mac) or File Explorer (Windows) to copy files.
- Transfer them manually to your new iPhone.
✅ Pros: Free, no cloud needed.
❌ Cons: Only works for files, not apps or settings.
Quick Fixes & Troubleshooting
Sometimes transfers fail or get stuck. Here’s how to fix common problems:
- Transfer Stuck on “Time Remaining”: Restart both iPhones and try again.
- Cable Transfer Not Working: Use an official Apple Lightning-to-USB cable.
- Not Enough Storage: Free up space before starting the transfer.
- New iPhone Won’t Recognize Backup: Update iTunes/Finder to the latest version.
Repair & Maintenance Tips
- Always use certified cables for wired transfers.
- Keep both iPhones charged (at least 50%) before starting.
- Regularly back up your iPhone locally to avoid data loss.
Alternatives & Workarounds
If you don’t want a full iPhone-to-iPhone transfer, consider these alternatives:
- Use Google Photos for unlimited photo backups.
- Use Dropbox or OneDrive for documents and files.
- Use WhatsApp’s built-in backup for chats (separate from iCloud).
Software & Compatibility Issues
- iOS Version Mismatch: Update both iPhones to the latest iOS version.
- Old iPhone Unsupported: Some features like Quick Start may not work on very old models.
- App Reinstallation: Certain apps may need re-downloading from the App Store.
When to Seek Professional Help
If you encounter issues like:
- Persistent transfer errors
- Corrupted backups
- Hardware-related problems with ports or storage
👉 Visit an Apple Store or an authorized service provider for assistance.
Final Thoughts
Transferring iPhone to iPhone without iCloud is not only possible but often faster and more secure.
- For a full transfer, use Quick Start or iTunes/Finder.
- For selective transfers, use AirDrop or third-party tools.
- For extra flexibility, try advanced apps like AnyTrans or iMazing.
By following this guide, you can set up your new iPhone in minutes—without worrying about iCloud storage limits or slow internet speeds.
READ MORE: How to Disable Voice Control on iPhone (Step-by-Step Guide for All Models)
Frequently Asked Questions (FAQs)
1. Can I transfer everything from my old iPhone to my new iPhone without using iCloud?
Yes. You can use Quick Start, iTunes/Finder, or third-party transfer tools to move data directly without relying on iCloud.
2. Do I need Wi-Fi to transfer iPhone to iPhone without iCloud?
Not always. Quick Start requires Bluetooth and Wi-Fi, but if you use iTunes/Finder with a computer and cable, Wi-Fi is not necessary.
3. How long does it take to transfer data between iPhones?
It depends on the method and data size. Quick Start or cable transfers can take anywhere from 10 minutes to over an hour for large backups.
4. Will my apps and settings transfer too?
Yes. If you use Quick Start or iTunes/Finder, your apps, settings, and even home screen layout can transfer over. Some apps may need to re-download from the App Store.
5. What should I do if the transfer fails midway?
Restart both devices, ensure they are charged, and try again. If the issue persists, try an alternative method like iTunes/Finder backup restore.
Leave a Reply