iPhone Error 4013—often shown as iTunes Error 4013 or Finder Error 4013—is one of the most common issues users face when restoring or updating an iPhone. This error appears when your device suddenly stops communicating with your computer during the process. Whether you’re recovering from a software crash, performing a routine restore, or updating to the latest iOS version, Error 4013 can bring everything to a halt.
The good news is that most Error 4013 cases are caused by simple connection problems, not major hardware failures. In this guide, you’ll learn what causes the error, how to fix it step-by-step, how to prevent it in the future, and when to seek professional help.
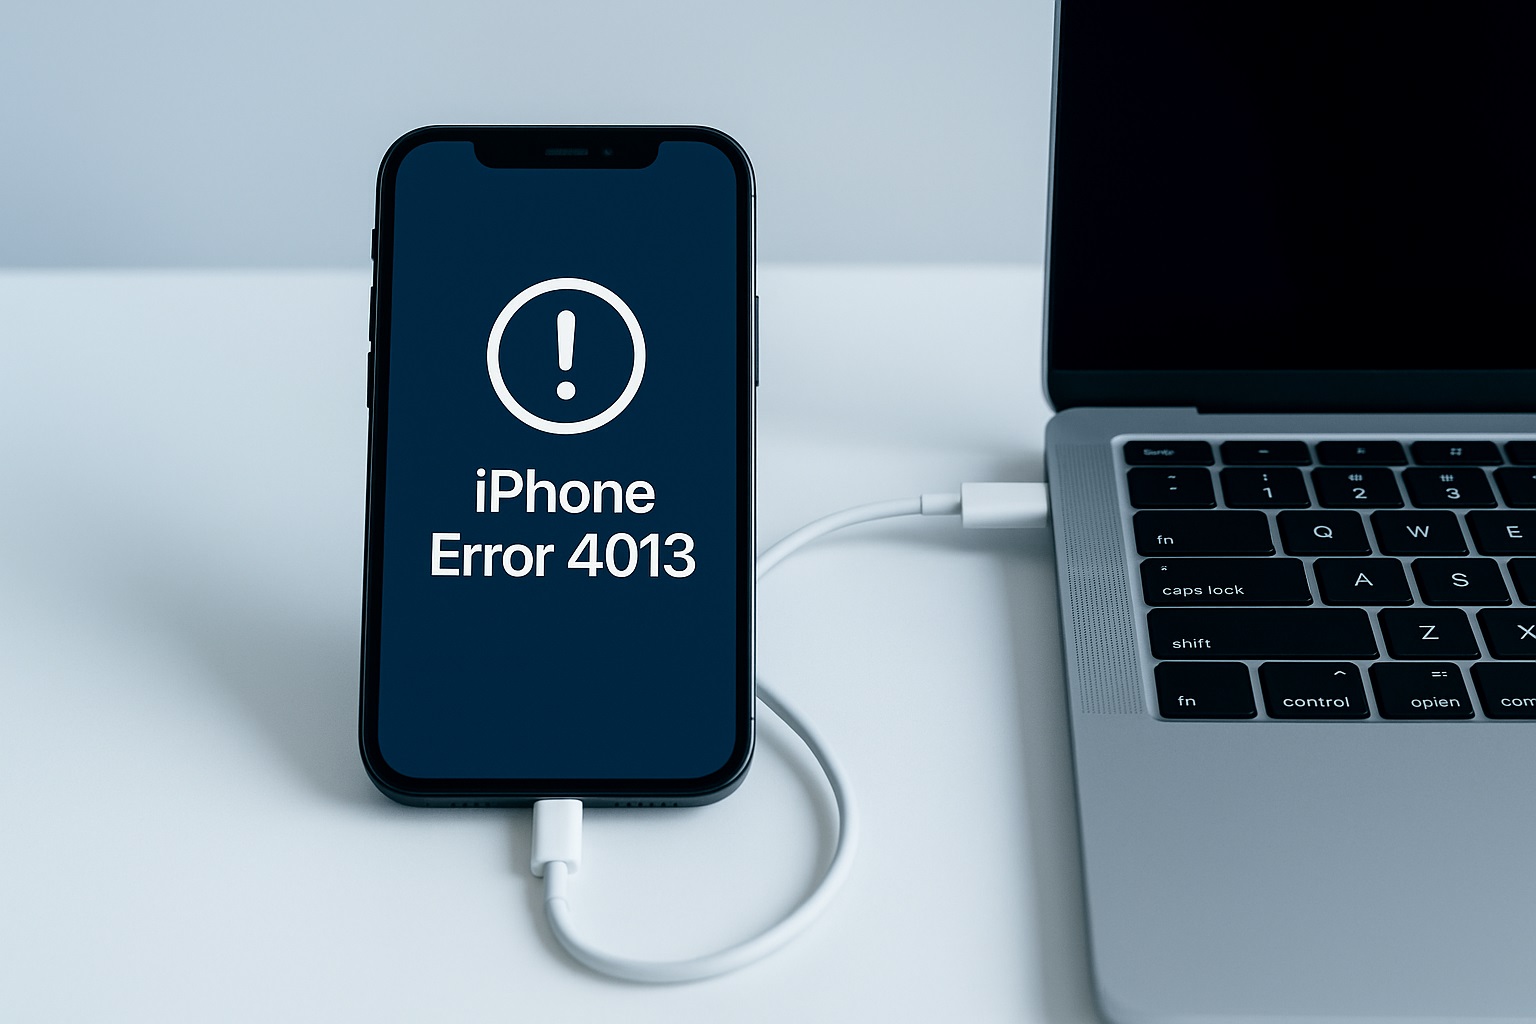
What Is iPhone Error 4013?
iPhone Error 4013 is a communication-related error that appears when your device disconnects or fails to maintain a stable link with Finder (macOS) or iTunes (Windows) during an update or restore. Although Apple categorizes it as a “hardware communication error,” it often stems from minor issues like faulty cables, unstable USB ports, outdated software, or temporary glitches.
Common signs include:
- Your iPhone stays stuck on the Apple logo
- The device shows the Recovery Mode screen
- Finder or iTunes freezes or stops responding
- Restore or update fails repeatedly
- A popup displaying “Error 4013” interrupts the process
Why Does iPhone Error 4013 Occur?
Several underlying issues can disrupt communication between your iPhone and computer. The most common causes include:
1. Faulty or non-certified USB cables
Low-quality or damaged cables can interrupt data transfer, causing the restore process to fail.
2. Dirty or damaged USB ports
Debris or physical damage inside the port can break the connection unexpectedly.
3. Outdated system software
Older versions of macOS, Windows, Finder, or iTunes may not fully support your iPhone’s firmware.
4. Corrupted iOS or firmware issues
Failed system updates, improper shutdowns, or third-party modifications can corrupt essential files.
5. Insufficient computer resources
If your computer is overloaded, Finder/iTunes may freeze mid-restore.
6. Hardware problems (less common)
Internal component issues—such as NAND damage, Tristar IC failure, or liquid damage—can also trigger Error 4013.
How to Fix iPhone Error 4013: Step-by-Step Solutions
The following troubleshooting steps are arranged in order of easiest to most advanced. Follow them sequentially for the best results.
1. Restart Your iPhone and Computer
A simple restart is often enough to clear temporary software conflicts.
How to do it:
- Restart your iPhone
- Restart your Mac or PC
- Reopen Finder or iTunes
- Attempt the restore or update again
2. Switch to an Apple-Certified USB Cable
Unstable or counterfeit cables are the leading cause of Error 4013. Always use an Apple-certified or original cable.
Tips:
- Avoid frayed or visibly damaged cables
- Try a different cable if available
- USB-A to Lightning cables are often more stable than USB-C to Lightning
3. Try a Different USB Port
Some USB ports offer unstable power or loose connectivity.
What to try:
- Test all available USB ports
- Prefer USB-A ports for restores
- Avoid USB hubs and adapters
- If using a USB-C-only Mac, use a high-quality USB-C to Lightning cable
4. Update macOS, Windows, Finder, or iTunes
An outdated system can make it difficult for your computer to communicate with your iPhone.
How to update:
- Mac: Apple Menu → System Settings → Software Update
- Windows: Open iTunes → Help → Check for Updates
After updating, restart your device and try again.
5. Close Unnecessary Background Applications
Programs running in the background—especially memory-heavy ones—can cause Finder or iTunes to freeze.
Close apps such as:
- Google Chrome
- Video editing tools
- Games
- Virtual machines
- Cloud-syncing apps like OneDrive or Dropbox
6. Put Your iPhone in Recovery Mode
Recovery Mode reloads essential firmware components and often resolves update and restore issues.
How to enter Recovery Mode:
iPhone 8 and later:
- Press Volume Up
- Press Volume Down
- Hold the Side button until the Recovery Mode screen appears
iPhone 7 / 7 Plus:
Hold Volume Down + Power simultaneously.
iPhone 6s and older:
Hold Home + Power.
Once connected, select Update first to preserve your data. If that fails, choose Restore.
7. Use DFU Mode for a Deep Restore
DFU Mode (Device Firmware Update) performs the most complete type of system restore, rewriting both firmware and software.
DFU steps for iPhone 8 and newer:
- Connect your iPhone to your computer
- Press Volume Up
- Press Volume Down
- Hold the Side button until the screen goes black
- Quickly hold Side + Volume Down for 5 seconds
- Release Side button, but continue holding Volume Down for 10 seconds
Your screen should stay black. Finder/iTunes will detect the device in DFU Mode. Select Restore to proceed.
8. Try Another Computer
Sometimes the issue lies in your computer’s USB drivers or system components.
Try restoring your iPhone on a:
- Different Mac
- Different Windows PC
If it succeeds elsewhere, your original system likely has software or hardware conflicts.
9. Check for Hardware Issues (Advanced)
If all software-related solutions fail, the issue may be caused by hardware problems.
Possible hardware causes:
- Faulty Tristar/U2 IC (manages USB charging/data)
- Damaged NAND storage chip
- Liquid exposure
- Drop damage
- Loose internal connectors
- Failing charging port
Signs of hardware failure:
- Random reboots
- Frequent overheating
- Rapid battery drain
- Instability when connecting cables
- Restore always fails at specific percentages (19%, 40%, or 60%)
In this situation, a professional diagnostic from Apple or a certified technician is recommended.
When Should You Contact Apple Support?
You should reach out to Apple if:
- You’ve tried DFU Mode and multiple cables
- Error 4013 appears on multiple computers
- Your device shows signs of hardware damage
- The restore fails at the same point every time
Apple can run in-depth hardware diagnostics and provide repair or replacement options.
How to Prevent iPhone Error 4013 in the Future
Once you’ve fixed the issue, use these tips to prevent it from happening again:
- Use certified Lightning or USB-C cables
- Keep software on both your phone and computer updated
- Avoid interrupting system updates
- Charge your devices before restoring
- Clean USB ports regularly
- Keep your iPhone away from moisture and heat
Prevention not only reduces future errors but also protects your iPhone’s long-term performance.
Frequently Asked Questions About iPhone Error 4013
1. Is Error 4013 a serious issue?
Usually not. Most cases are caused by simple connection problems or outdated software.
2. Will I lose my data when fixing Error 4013?
Choosing Update keeps your data. Choosing Restore erases everything unless you have a backup.
3. Does DFU Mode fix Error 4013?
Yes, DFU Mode is one of the most effective solutions.
4. Can water damage trigger Error 4013?
Yes. Liquid exposure can corrode internal components and disrupt communication.
5. How is Error 4013 different from Error 4014?
Both are communication errors caused by similar issues, and their fixes are nearly identical.
Final Thoughts
iPhone Error 4013 is frustrating, but in most cases, it’s easy to fix using the methods above. Start with basic solutions—cables, ports, and restarts—before moving to Recovery Mode or DFU Mode. Only a small percentage of users will need professional hardware repair.
This article is for informational purposes only. iPhoneErrors.com is not affiliated with Apple Inc. For official support, visit support.apple.com.